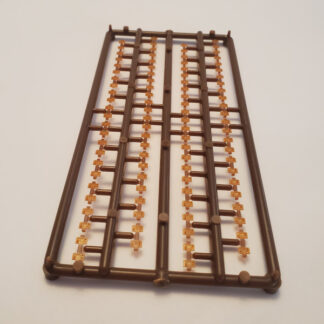
Glue your tie strips to your roadbed as you normally would. Wood glue works well. It is advantageous to have a wood glue with an extended working time to allow proper alignment of the ties. With “standard” hand laid track processes, tie position isn’t as critical. However, with our product, because the tie plates are already glued to the ties, the position of the ties becomes important and the extra working time will allow more time for the necessary adjustments.

A good way to get and confirm proper alignment of the tie plates is to dry fit a rail in the tie plates on one side while the glue bonding the ties to the roadbed is still wet. Make sure there are no kinks in the rail, the rail follows the desired route, and the rail fits properly in the groove in the tie plates. Once the ties are positioned properly, wait for the glue to dry.

To attach the rails to the tie plates, apply a thin layer of glue to the underside of the rails and place the rails in the grooves created by the tie plates. We recommend Crafter’s Pick The Ultimate Glue to fix the rails to the tie plates. This glue can be found at Hobby Lobby and other retailers. The advantage of this glue over contact cement is that it can be cleaned up with water. If you put too much glue on the underside of the rail and it squeezes out when setting the rail, it can be cleaned up with a wet paper towel before it dries.

Place weights on the rail to hold it down until the glue dries.

Now your track is ready for painting and ballasting.